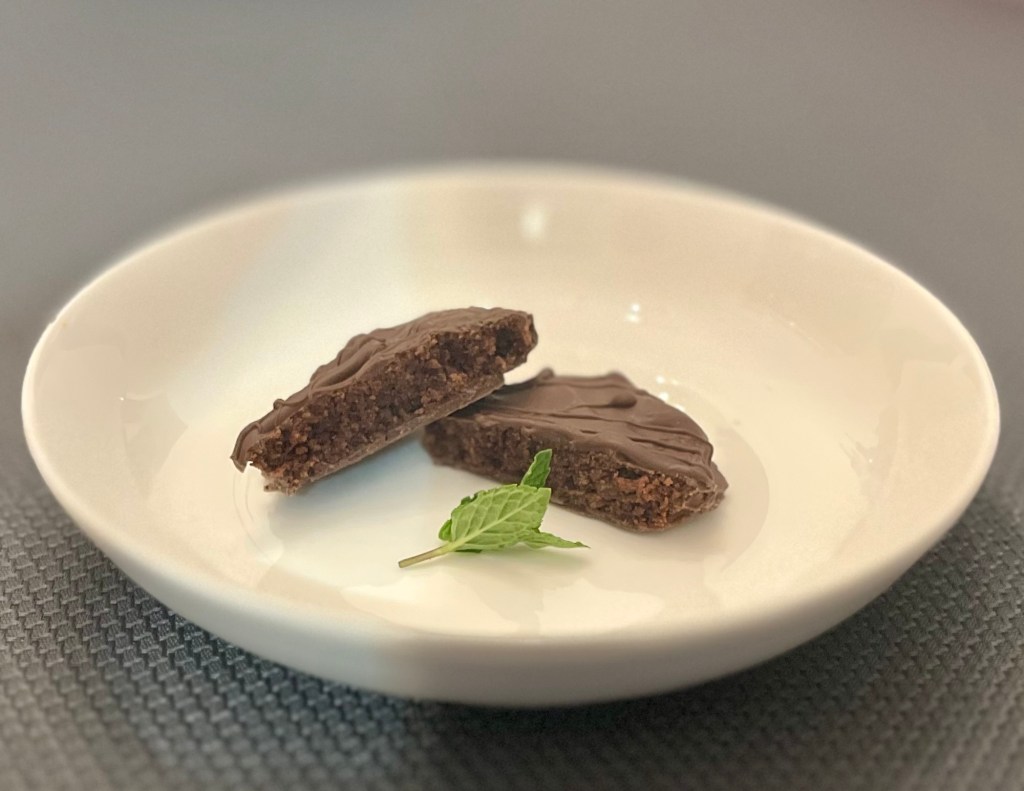
It’s that time of year again. The snow is melting, everyone is out and about, and your local Girl Scouts are partially blocking the exit of your neighborhood Walmart. Each of us have our own favorite guilt-trip cookie buys. However, none are as iconic as the Thin Mint: the chocolate covered chocolate biscuit with a strong dose of mint. Spring in essense.
However, these cookies can be made better (and cheaper) at home with ingredients you probably have in your pantry now, mostly. If you buy some peppermint extract, you’ll be well on your way to making these in your own kitchen. So get your mixers ready and keep your hard-earned money in your pocket (just kidding; Girl Scouts is a great organization so please donate anyway).
Ingredients
- 1/2 cup salted butter, softened to room temperature
- 1 cup (200g) granulated sugar
- 1 large egg, at room temperature
- 1 teaspoon pure vanilla extract
- 1/4 teaspoon peppermint extract
- 1 and 1/2 cups (188g) all-purpose flour
- 3/4 cup (62g) unsweetened natural cocoa powder
- 1 teaspoon baking powder
- 1/8 teaspoon salt
- 24 oz almond bark
Instructions
- Make the cookies: In a large bowl using a handheld mixer or stand mixer fitted with a paddle attachment, beat the butter for 1 minute on medium speed until completely smooth. Add the granulated sugar and beat on medium high speed until fluffy; about 1-2 minutes. Beat in the egg, vanilla extract, and peppermint extract on high speed for about 30 seconds. Scrape down the sides and bottom of the bowl as needed.
- Sift the flour and cocoa powder together into the mixing bowl and mix on low for about 15 seconds. Still on low speed, slowly mix into the wet ingredients until combined.
- Place the dough into the fridge still in the bowl and refrigerate for at least 1 hour. If chilling for more than a couple hours, cover the top dough piece with a single piece of parchment paper. You can chill up to 2 days.
- Once chilled, preheat oven to 350°F. Line 2-3 large baking sheets with parchment paper or silicone baking mats. Remove the dough (it should be a Play-Dough-like consistency) from the refrigerator and using a 2-inch round cookie or biscuit cutter, cut in circles. Transfer the cut cookie dough to the prepared baking sheet. Re-roll the remaining dough and continue cutting until all is used.
- Bake for 8-10 minutes or until the edges appear set. The cookies will seem very soft in the centers. Make sure you rotate the baking sheet halfway through bake time. Cool on baking sheet for 5 minutes, then transfer to a wire rack to cool completely before dipping in chocolate.
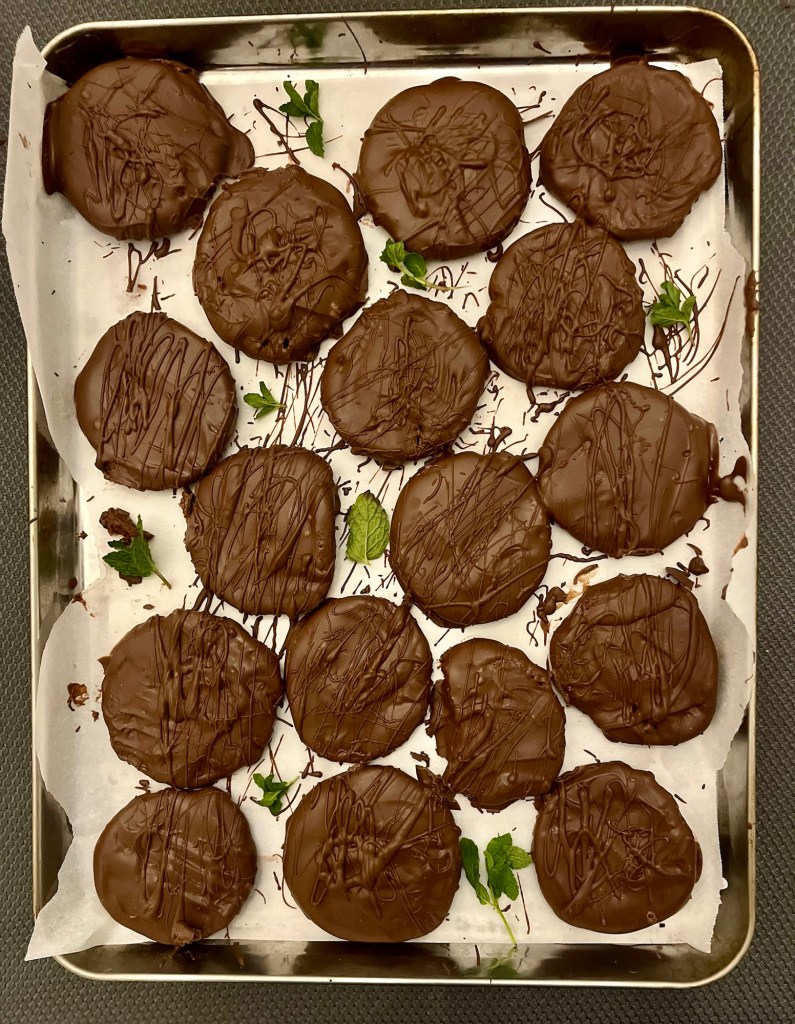
- Once the cookies are cool, begin the coating: Melt the almond bark in the microwave. Melt the bark 8 oz (or 3 pieces) at a time in 15 second increments, stirring after each increment until completely melted and smooth. Dip each cooled cookie completely into the chocolate and use a fork to lift out. Tap the fork gently on the side of the bowl to allow excess chocolate to drip off. Place cookie onto a parchment or silicone baking mat-lined baking sheet. It should harden in 5-10 minutes. Repeat melting almond bark until all cookies are covered.
- Cover and store leftover cookies at room temperature for up to 2-3 days or in the refrigerator for up to 1 week. In fact, they are almost better cold!